

I Bought New Tires Last Year. Valve Stem Needs Repair. Should It Be Covered?
Tire valve stems are the valves located in a vehicle's bicycle where the tires are inflated from. They comprise a spring loaded valve core that seals itself using the air pressure inside of the tire. Over fourth dimension valve stems may get old, scissure, become brittle, or brainstorm to leak, causing larger problems with your tire and your driving feel.
When valve stems brainstorm to leak, the tire will no longer hold air. Depending on the severity of the leak, the tire may leak air slowly, or in more than sever cases non concur air at all, warranting replacement of the valve stem.
In most cases the the fastest way to supervene upon a valve stalk is to have it to a tire shop and have them remove the tire and replace the valve stalk using assistance of a tire auto. However, for instances where this is not an option, a tire can be removed and the valve stem changed manually. In this pace by pace guide nosotros volition embrace how to remove a tire from a wheel manually, using a tire atomic number 26, to replace the valve stalk.
Part one of 1: How to supplant a valve stem
Materials Needed
- Air compressor with hose
- Jack
- Jack stands
- Lug nut wrench
- Needle nose pliers
- Tire iron
- Valve stalk removal tool
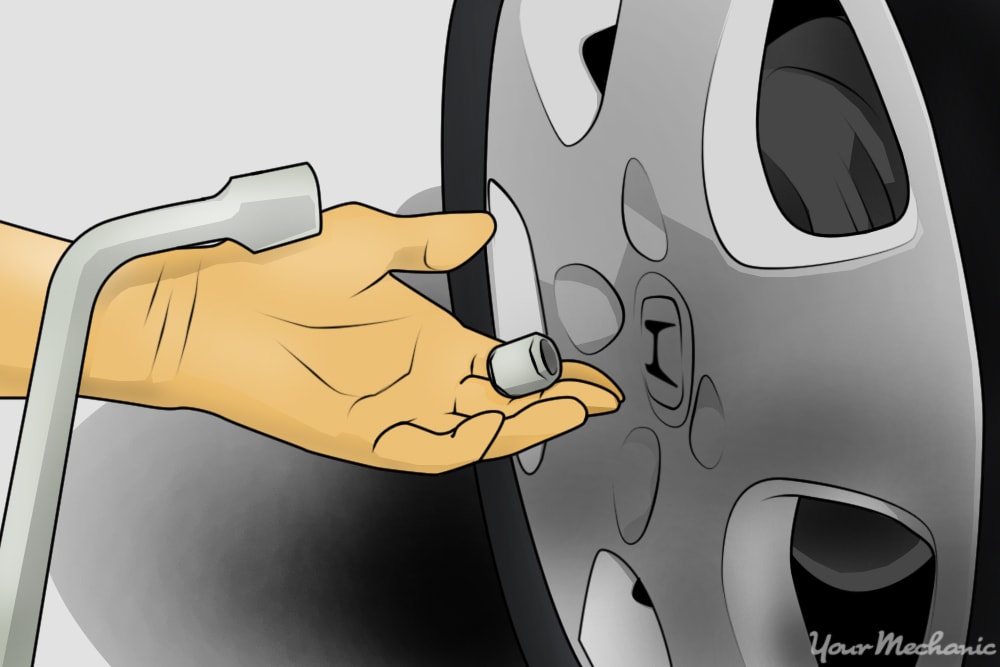
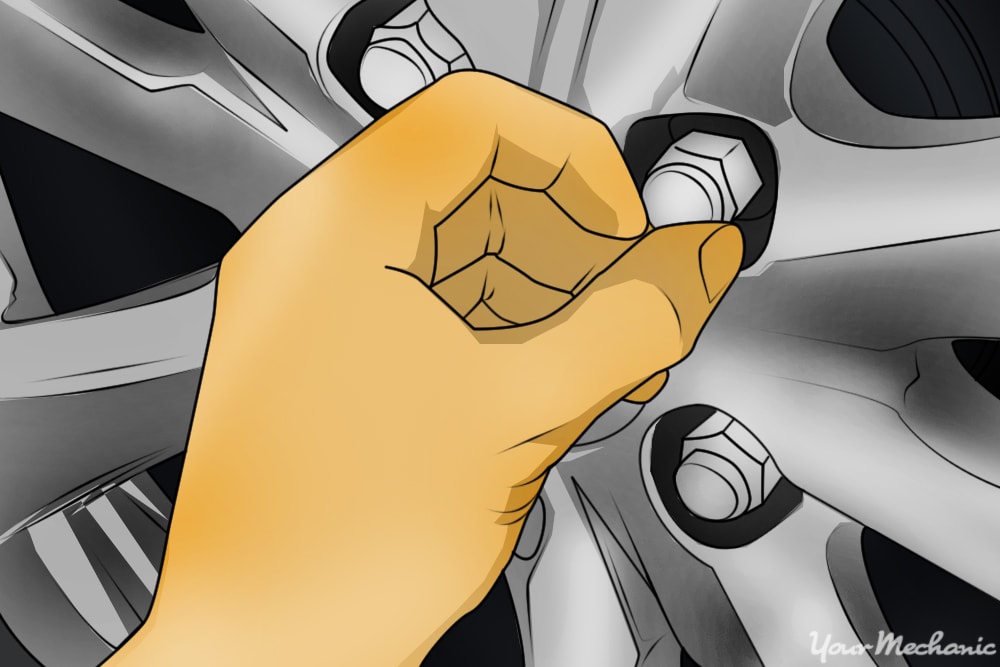
Footstep 1: Loosen the lug nuts. Loosen the lug basics of the wheel from which the valve stem is going to exist replaced.
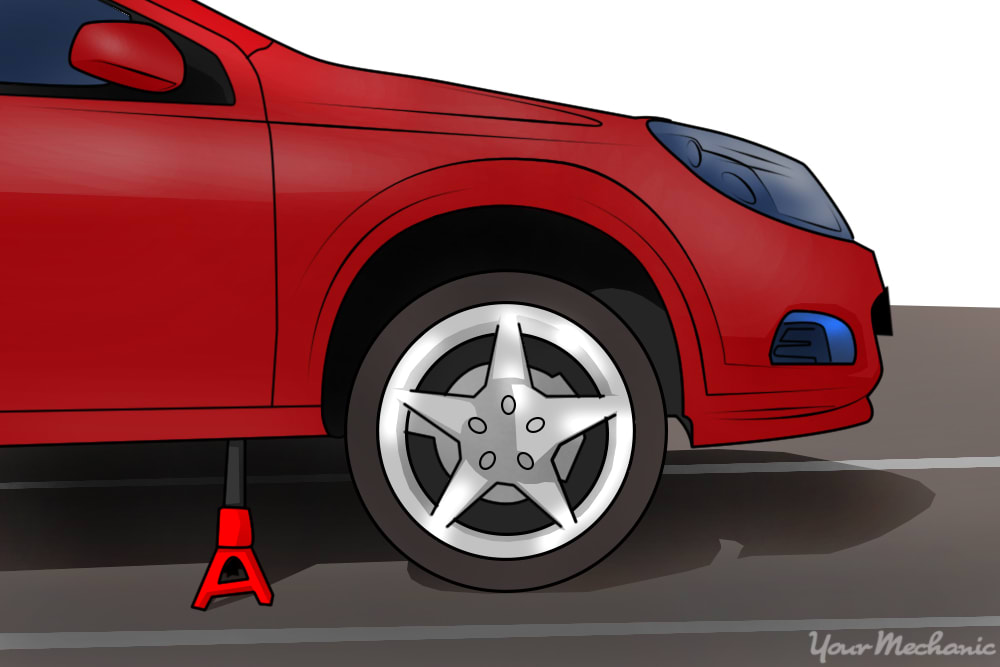
Step 2: Heighten the machine on jack stands. Fix the parking brake, so raise the vehicle and secure it on jack stands.
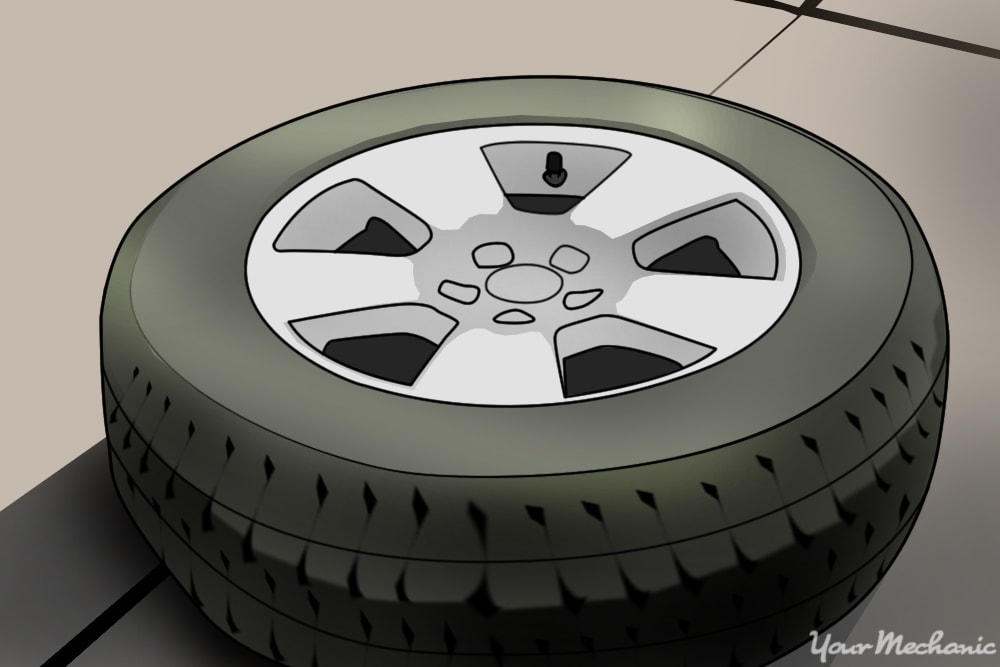
Step iii: Remove the wheel. Once the vehicle is raised, remove the wheel and set it flat on the footing with the exterior of the bicycle facing up.
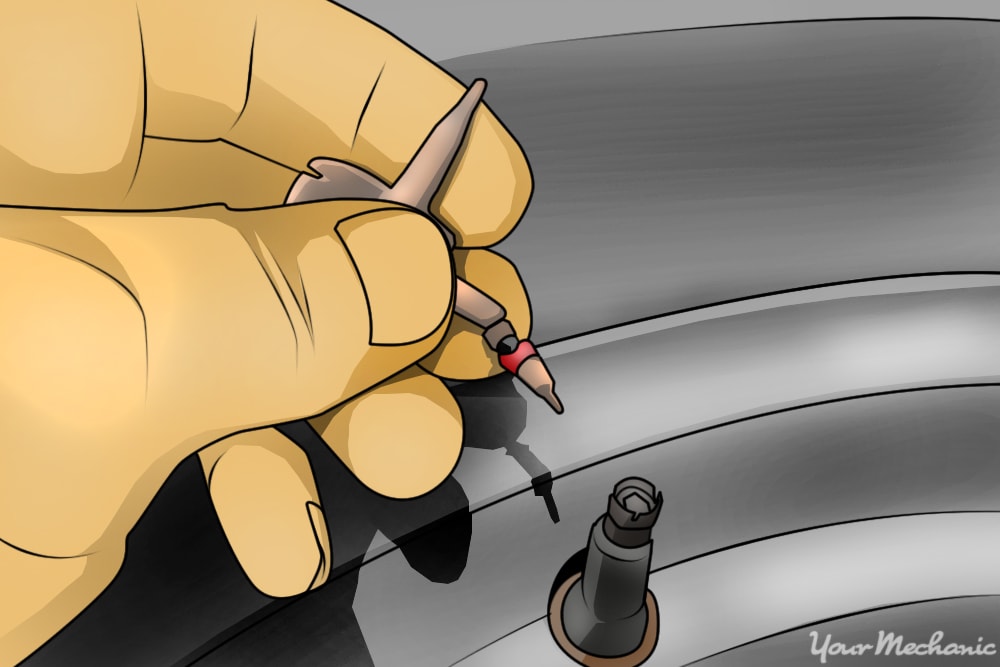
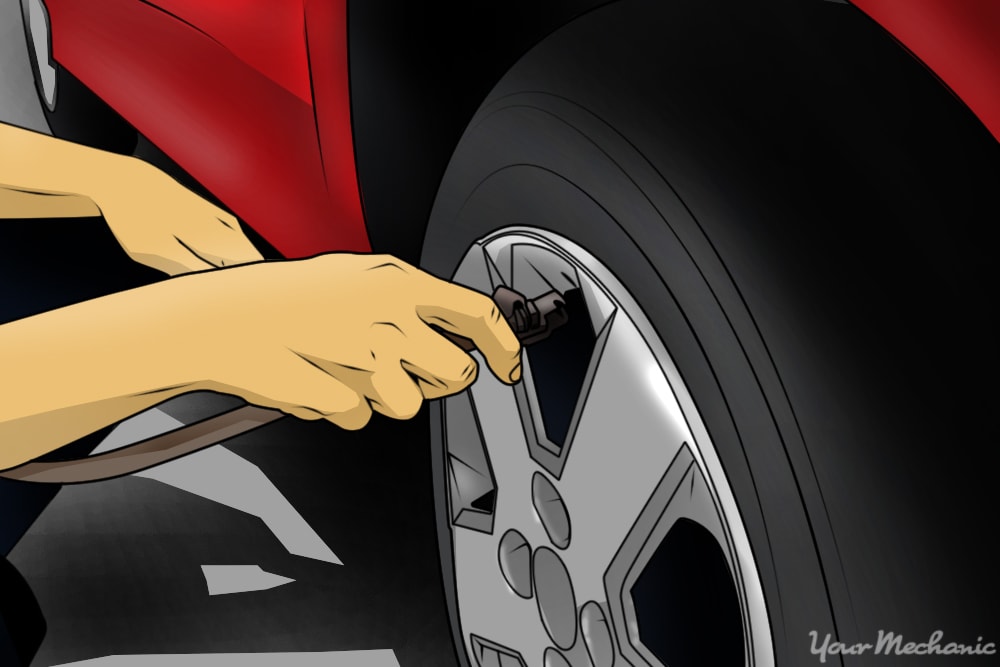
Stride iv: Debunk the tire. Remove the cap from the valve stem, and then remove the valve stem core using the valve stem removal tool to release the air from the wheel.
In one case the valve stalk cadre is removed the tire should deflate on its ain.
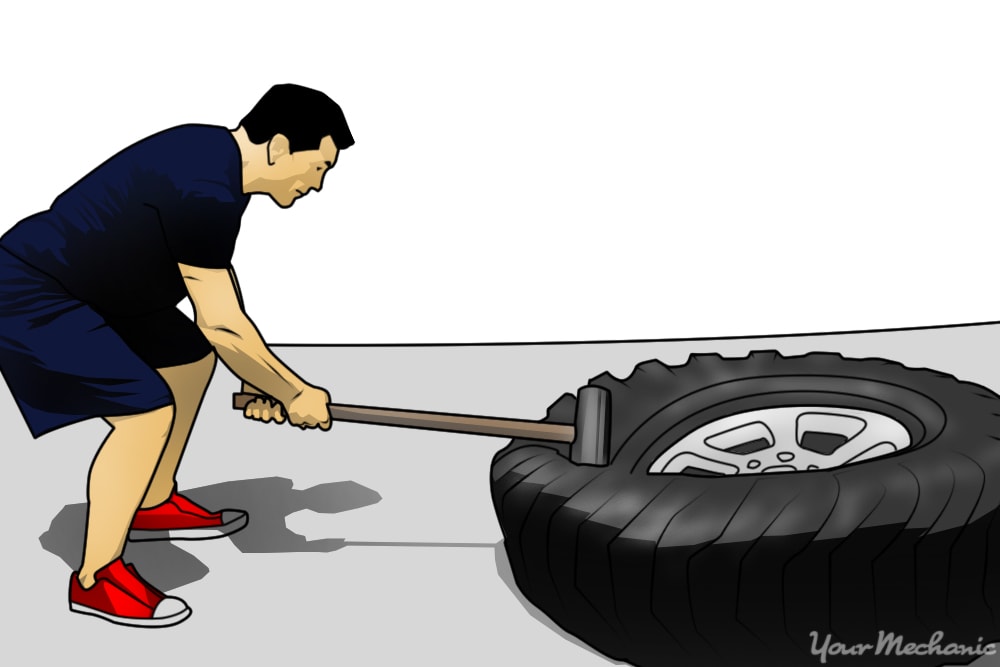
Step 5: Divide the tire'south bead from the wheel. Adjacent, use the sledgehammer to break the tire's bead gratuitous from the wheel.
Hitting the sidewall of the tire using the sledgehammer in the same identify until the bead breaks loose.
When the dewdrop breaks loose you may hear a crack or popping audio, and you will see the inside lip of tire visibly separate from the lip of the bicycle.
One time the bead has been cleaved, continue around the tire with the sledgehammer until the dewdrop is completely broken all the way round the tire.
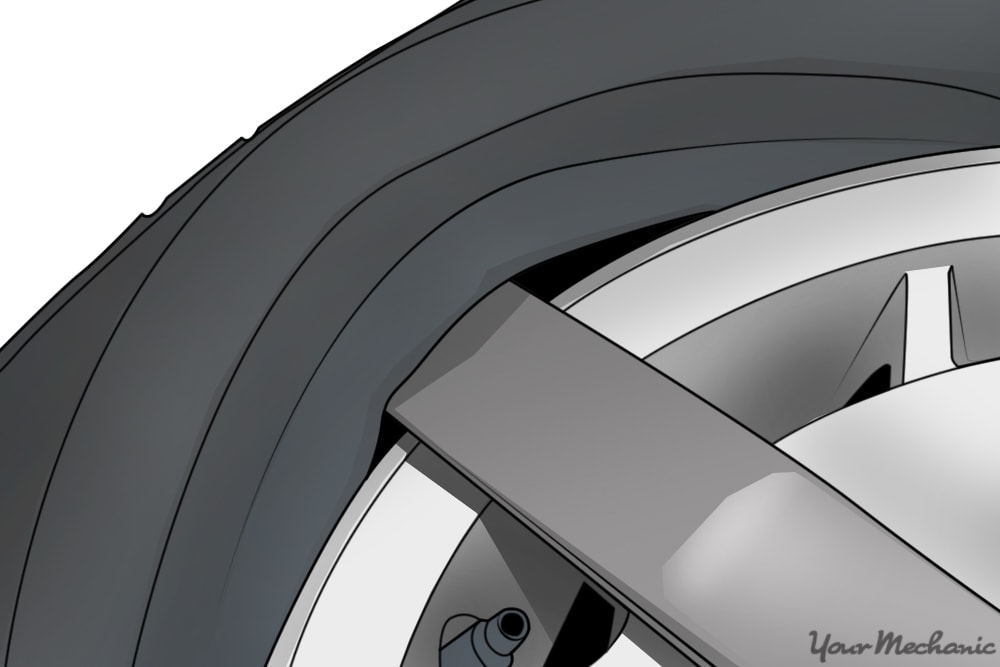
Step 6: Lift the lip of the tire up from the wheel. Once the tire's dewdrop has been broken, insert your tire iron between the edge of the rim and the within lip of the tire, and so pry upward to pull the lip of the tire over the border of the wheel.
In one case you accept pulled the lip of the tire over the edge of the cycle, work the tire iron around the rim until the entire lip of the tire is off the rim.
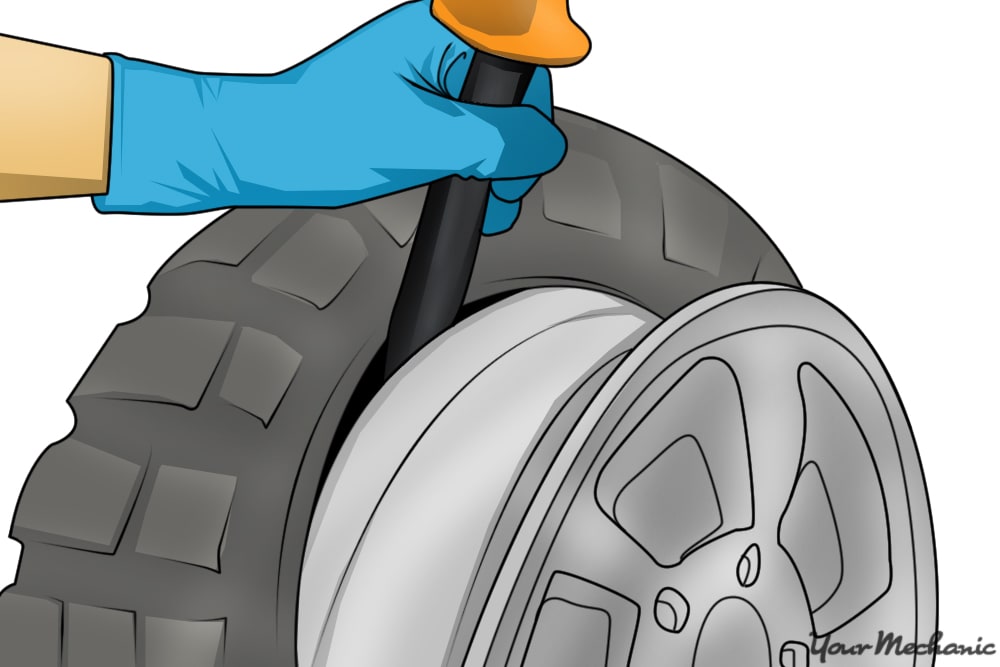
Step 7: Remove the tire. Take hold of the tire past its removed lip and pull it upward and so that the contrary lip that was at the bottom of the wheel is now touching the pinnacle border of the rim.
Insert the tire iron in between the the tire's lip and the edge of the bicycle and pry upwards to pull the lip over the border of the rim.
Once the lip is over the edge of the rim, work the tire iron around the edge of the wheel until the tire is removed from the wheel.
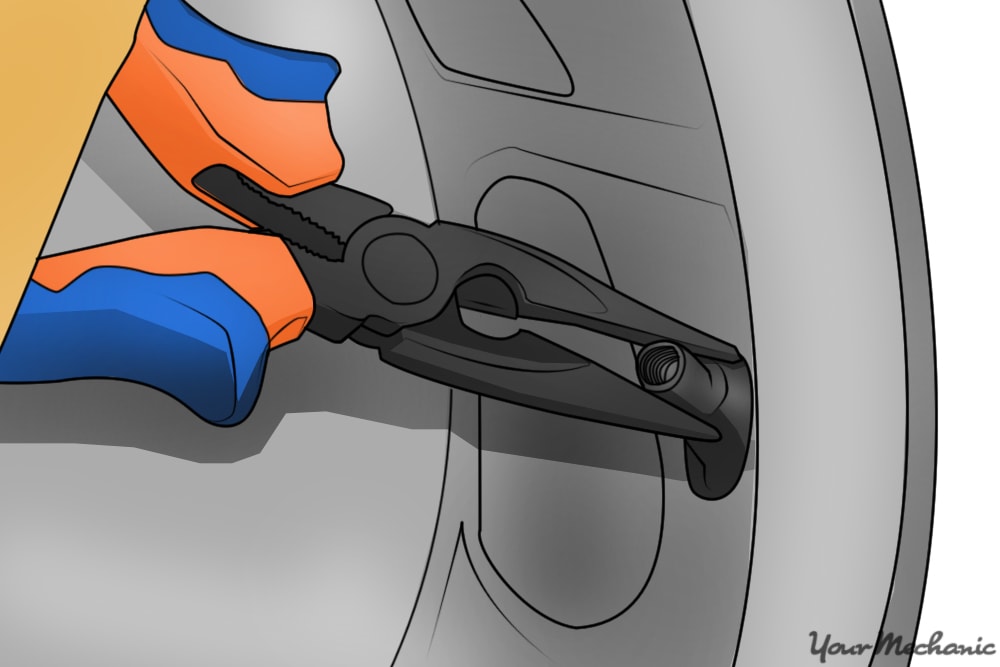
Footstep viii: Remove the valve stem. Once the tire is removed from the wheel remove the valve stalk. Utilize the needle nose pliers to pull the valve stem gratuitous from the wheel.
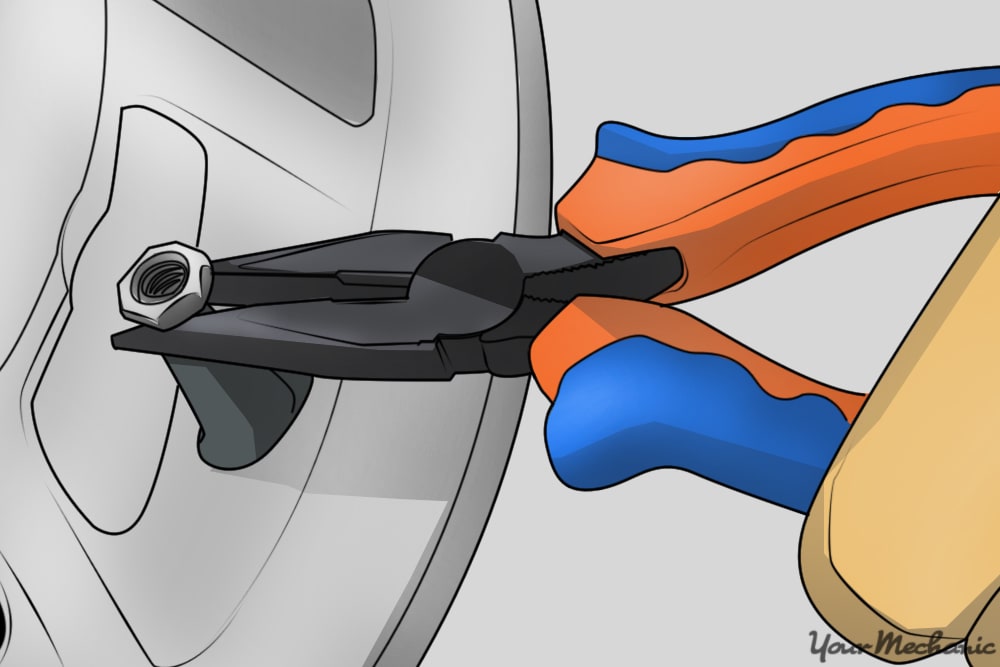
Step 9: Install the new valve stem. Accept your replacement valve stem and install information technology from the inside of the wheel. In one case information technology is in position employ the needle nose pliers to pull it through into identify.

Step 10: Reinstall the tire. Reinstall the tire onto the wheel past pressing information technology down over the the rim until the lesser bead clears the edge of the rim.
And then press the side of the tire downwardly underneath the edge of the wheel, constrict your tire iron in between the lip of wheel and the bead, and then pry the bead over the lip the of the bicycle.
Once the bead clears the lip of the bicycle, work your way circular the entire bike until the the tire is completely installed on the wheel.
Step 11: Inflate the tire. One time the tire has been re-installed onto the wheel, plough on the air compressor and inflate the tire to the correct specification.
For most tires, the recommended pressure is betwixt 32-35 pounds per foursquare inch (psi).
- Tip: For more data about inflating a tire, read our commodity "How to Add Air to Your Tires."
Step 12: Check for leaks. Once the tire is properly inflated, double check to make sure that there are no leaks of whatever kind, and so reinstall the tire onto the vehicle and lower it off of the jack stands.
For near cases, the easiest form of action to replace a valve stalk would be to simply take information technology to a tire store, take the tire removed with a car, and then accept the valve replaced.
Nonetheless, in the instances where that is not an option, a valve stem, and even a tire, can be removed and replaced manually with the correct tools and the right process. If you discover that there is a leak or damage in the tire and non merely the valve stem, you may want to replace the tire entirely.
The statements expressed above are only for advisory purposes and should be independently verified. Delight meet our terms of service for more details

Source: https://www.yourmechanic.com/article/how-to-replace-a-tire-valve-stem-by-ed-ruelas
Posted by: jaredfroneam1996.blogspot.com
0 Response to "I Bought New Tires Last Year. Valve Stem Needs Repair. Should It Be Covered?"
Post a Comment